


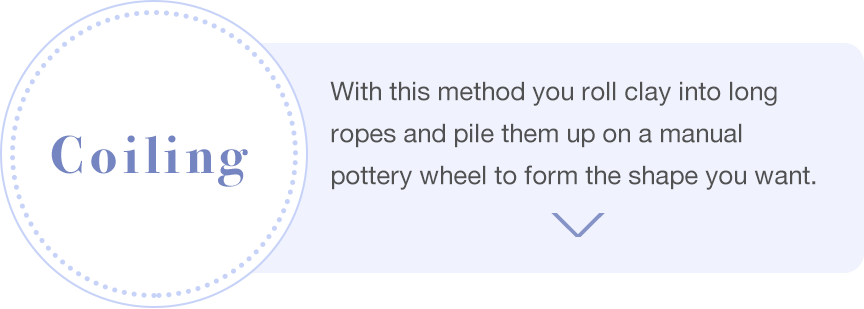
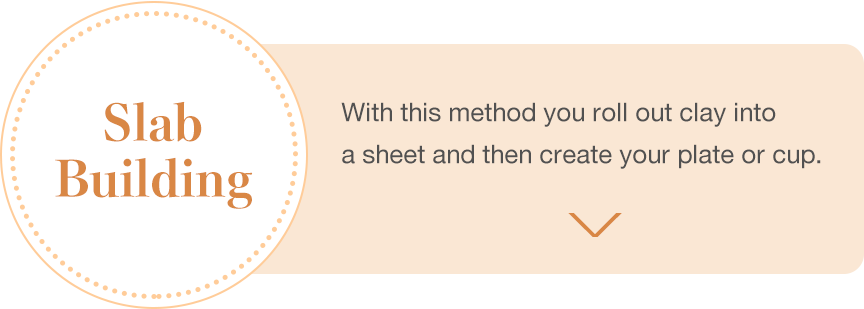
There are a few ways to throw clay. One way is to make lots of clay “ropes” first and then pile them up on a manual pottery wheel (coiling), or another way is to roll out a lump of clay into a slab and form a plate or a cup (slab building). You can try whichever way you feel comfortable with while enjoying a relaxing view of the garden.
* Your item will be delivered to you approximately one month after the course.
Here, we introduce two easy ways of throwing clay.

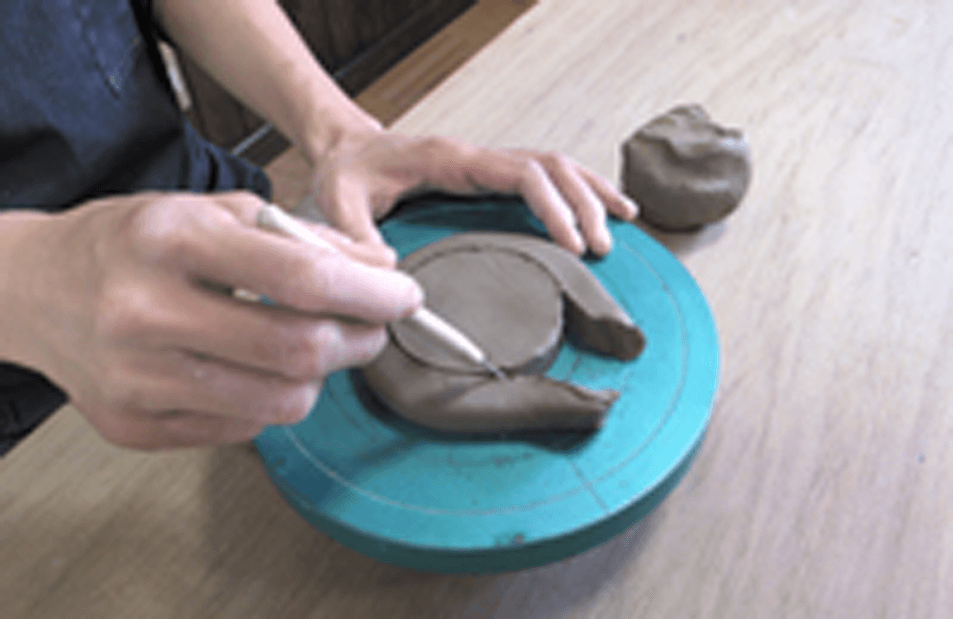
Make a base for the item you want to create.
Make the base about 1 cm thick, and use a needle to find the center.
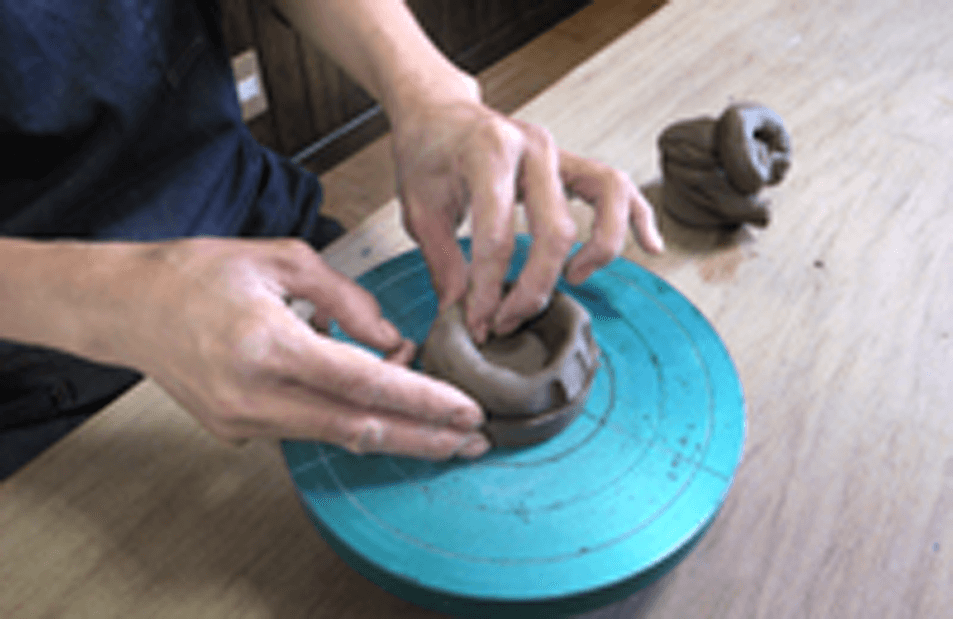
Roll out the ropes to an even thickness and place one on the base. Join it to the base on the inside and outside using your fingers.
The key is not to place the rope outside the perimeter of the base.
After the second layer, place the ropes slightly further inwards and carefully merge them so as not to leave any gaps.

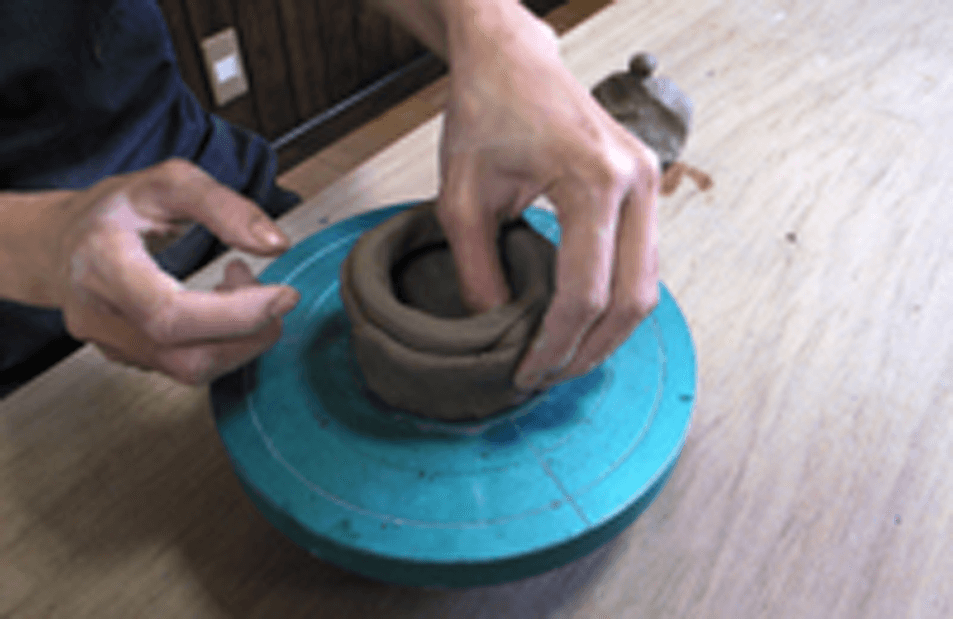
When all of the clay has been piled up, the foundation of the vessel is complete.
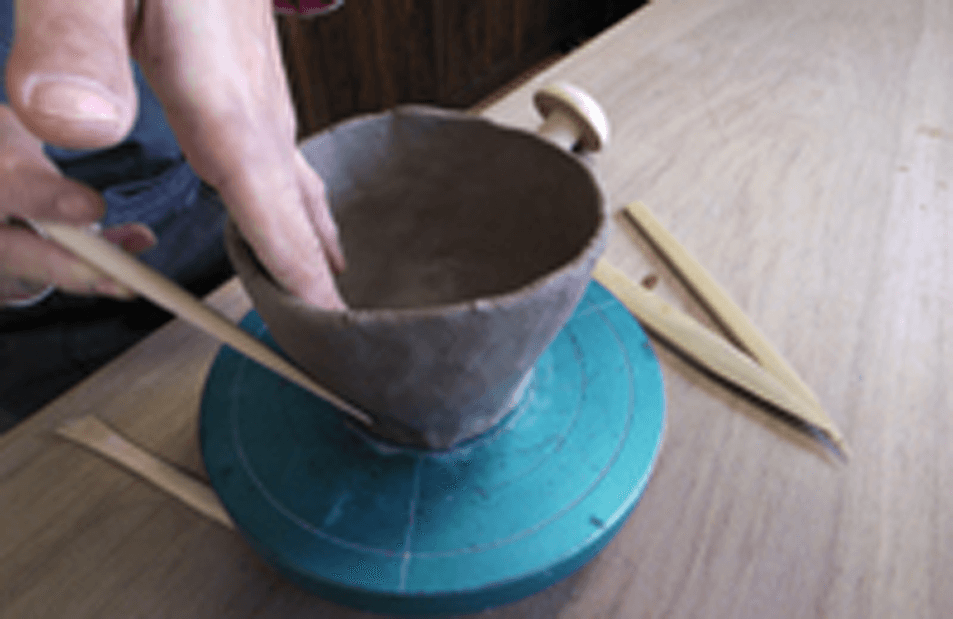
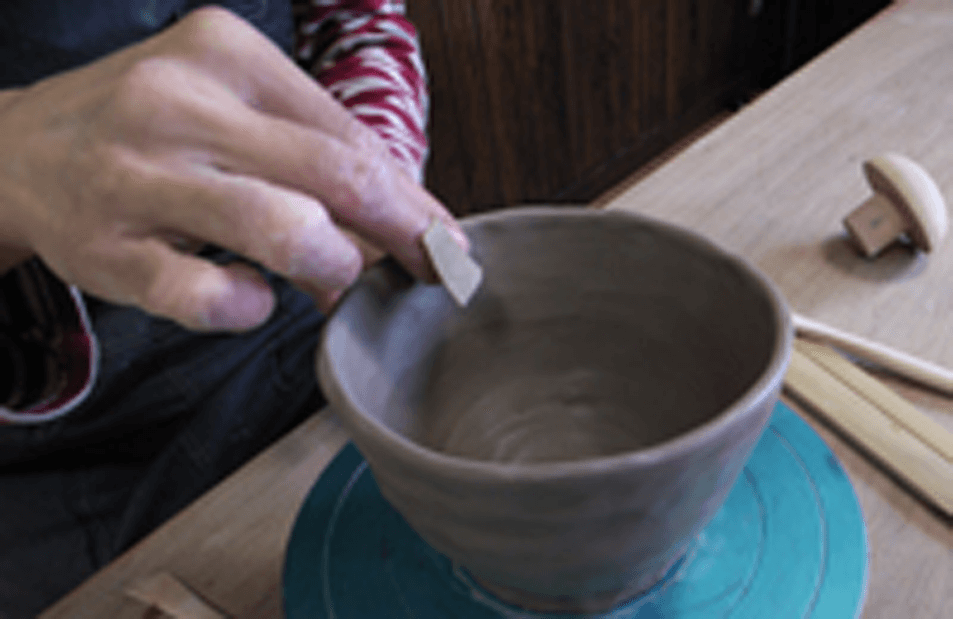
Fine-tune the shape of your creation using your fingers, a spatula and a trowel.
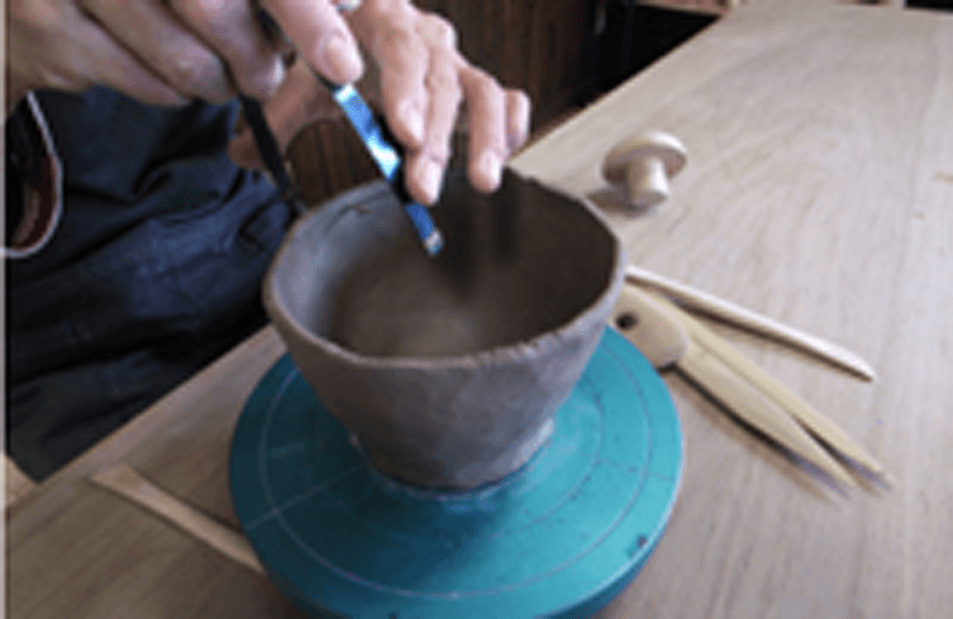
One of the tools you can use to make the rim of an item even is a trimming bow.
Use tanned leather to make the rim smooth.
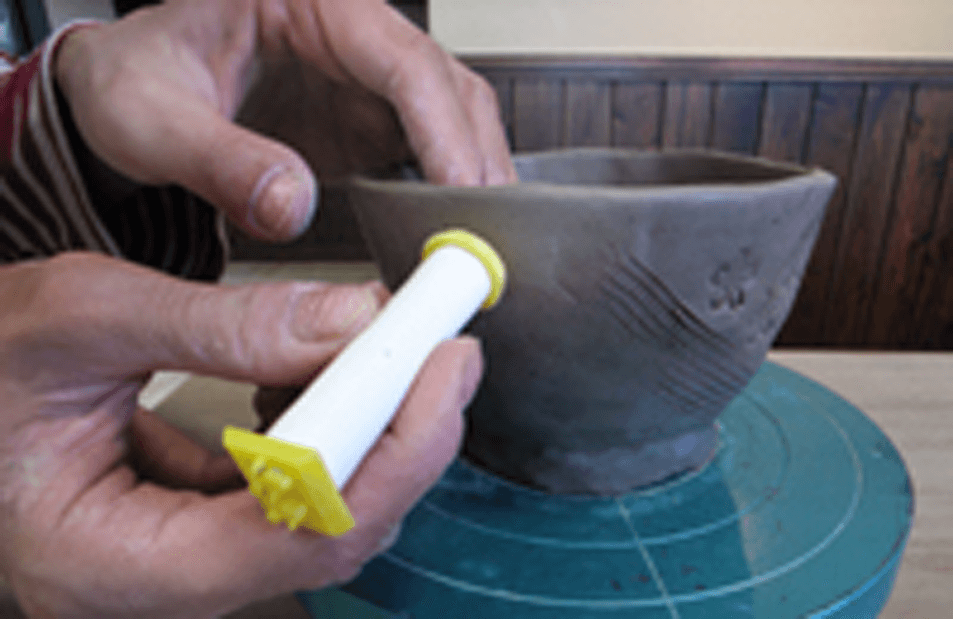
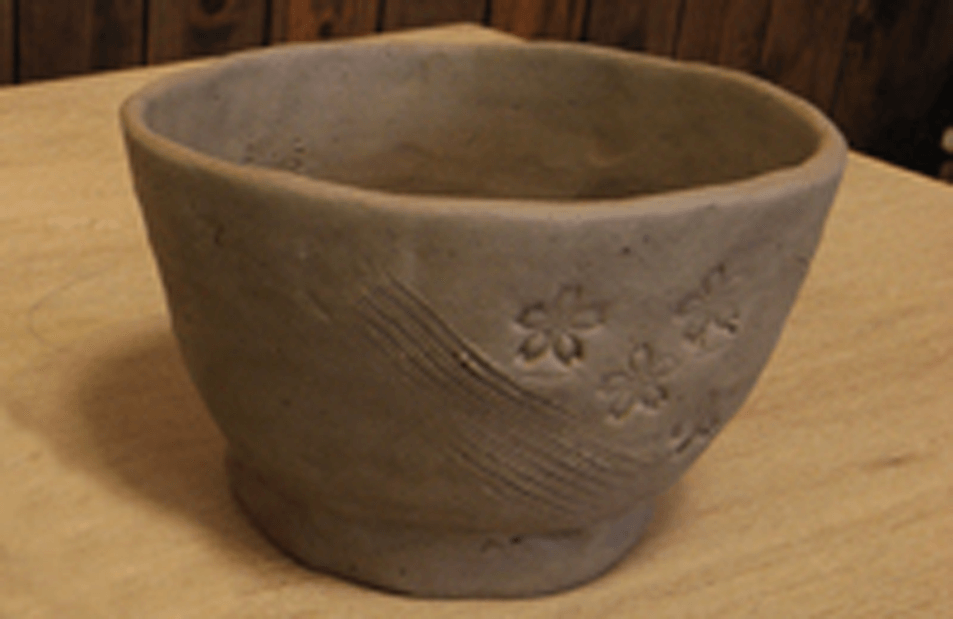
If you want to decorate the item you are making, you can use a stamp or a combing tool to put patterns or incise letters. You can attach a handle if you are making a cup or mug.
Next, select the glazes you would like to use. We will complete the rest of the process – finishing, drying, bisque (first) firing, glazing and second firing – and then send the completed item to you in about one month.


Make a slab of clay approximately 2 cm thick.

Roll out the slab using a rolling pin and a board to make it thinner. Turn the slab over a few times.
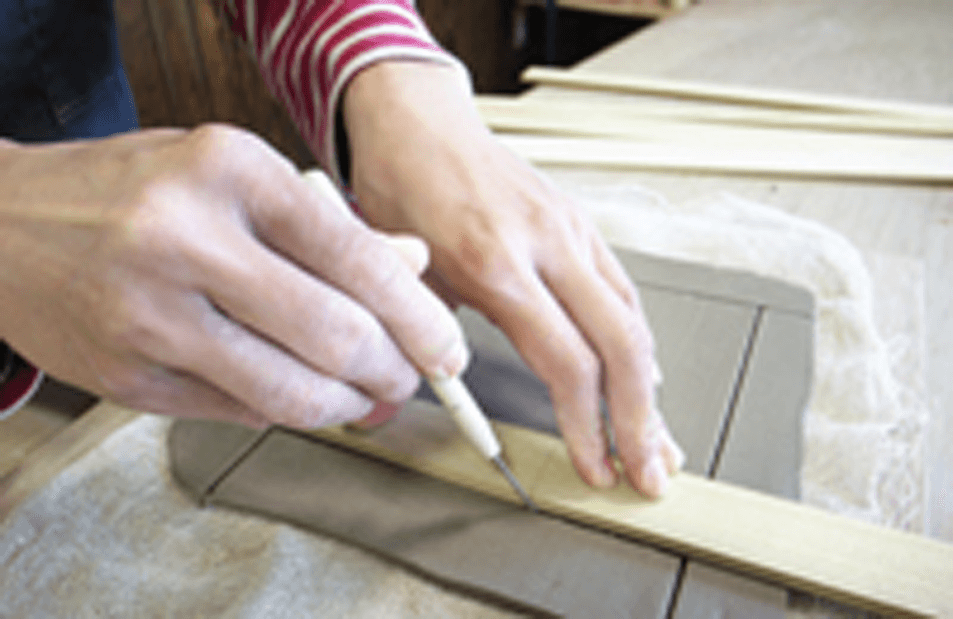
Cut the slab into the shapes you need to form the parts of the vessel you want to make.
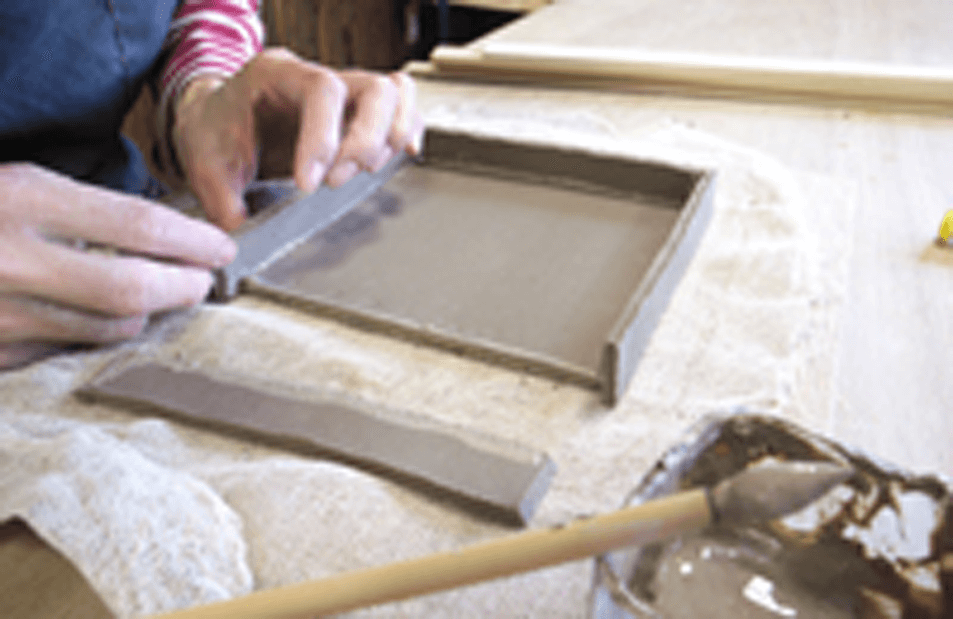
Join the slab parts together by applying diluted clay (dobé) to the joint surfaces.
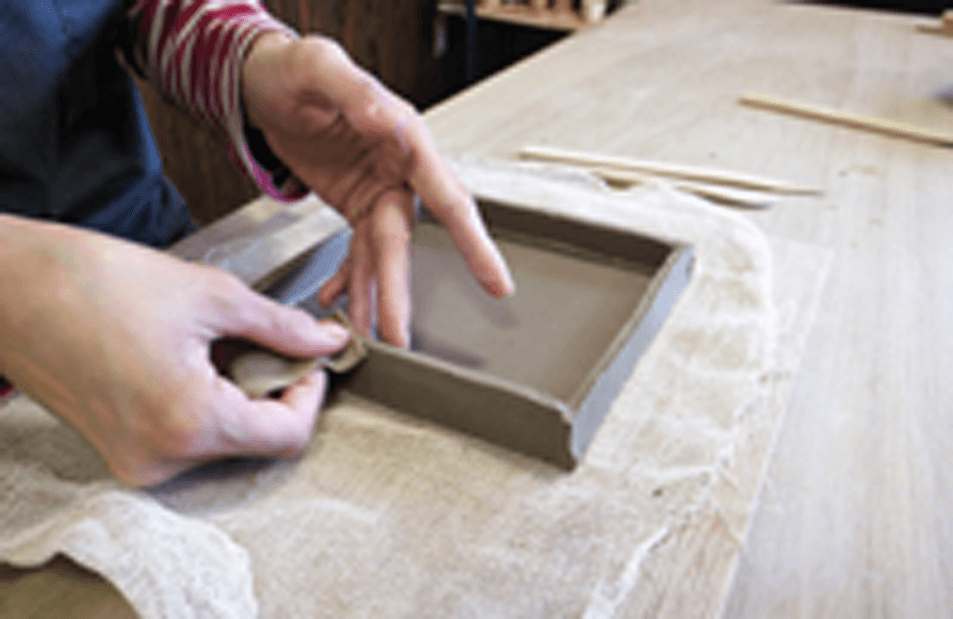
Smooth out everywhere, including the joints.
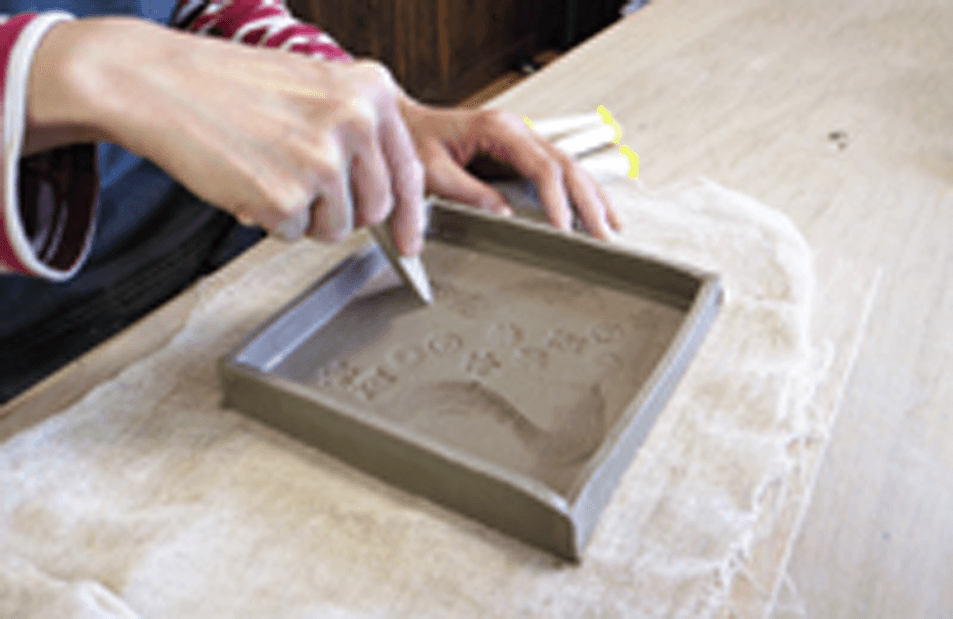
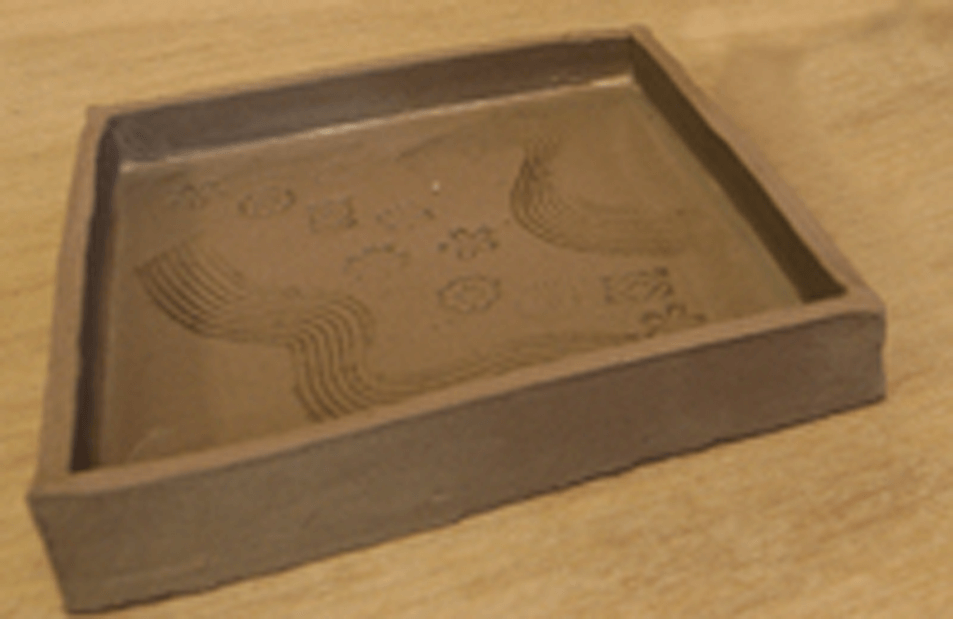
If you want to decorate your item, you can use a stamp or a combing tool to make patterns or incise letters. You can also attach a handle if you are making a cup or a mug.
Select the glazes you would like to use. We will complete the rest of the process – finishing, drying, bisque (first) firing, glazing and second firing – and then send the completed item to you in about one month.


